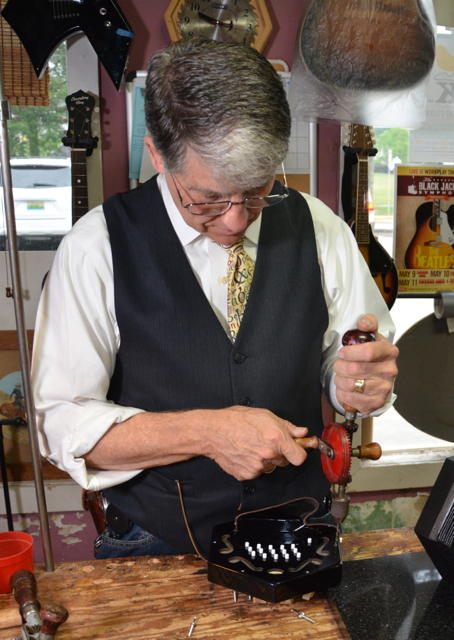
I remove the twelve wood screws from the ends of the concertina. Rare indeed is the concertina that will not require disassembly at some point. While machine screws and threaded brass inserts are common on more expensive instruments, the Rochelle is assembled with wood screws having only 1/2" of bite into the wood. It is important not to overtighten those wood screws.
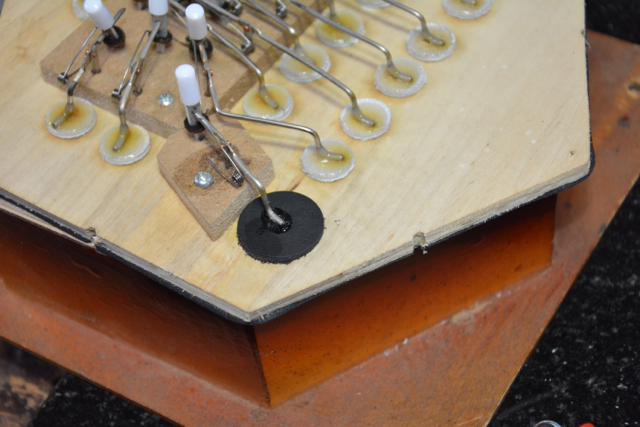
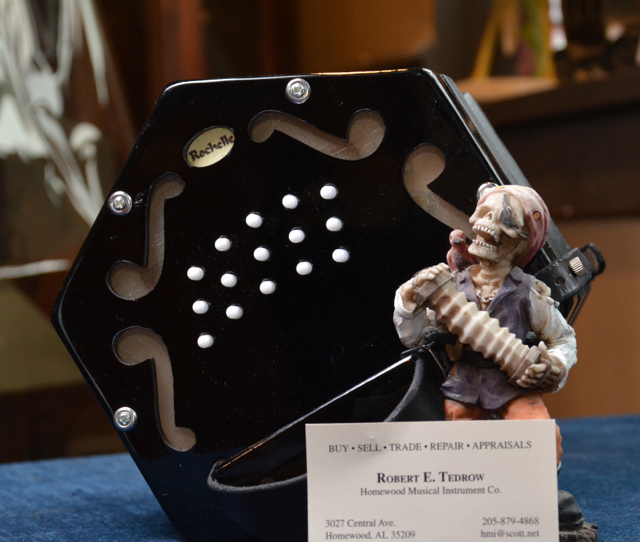
Under the hood of a
Rochelle, simple, clean work.
Here I am using a 9/64" drill to enlarge the 6 pilot holes in the concertina ends. If the wood screws do not fall easily through the pilot holes, and are not lubricated, one cannot easily tell when the wood screws are properly tight. The existing pilot holes can bind on the screws.
This is important: wood screws are there to hold the concertina top to the bellows frames. The screws do not exist so that you can use the force of ten men to subdue the instrument. If you do not stop when the screws are tight, then you are in peril of stripping the delicate wood from the bellows frame. Tight is tight. There is so such thing as "more tight"

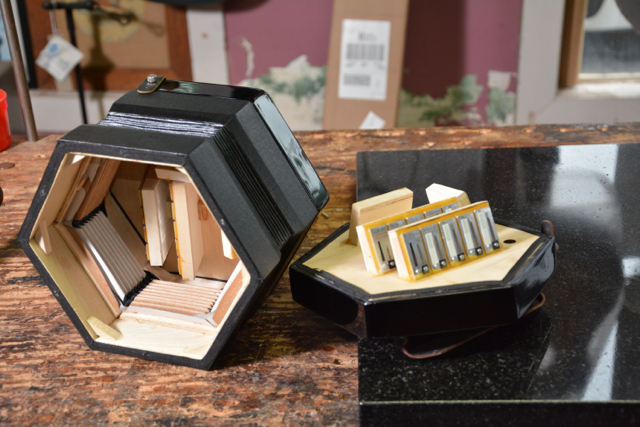
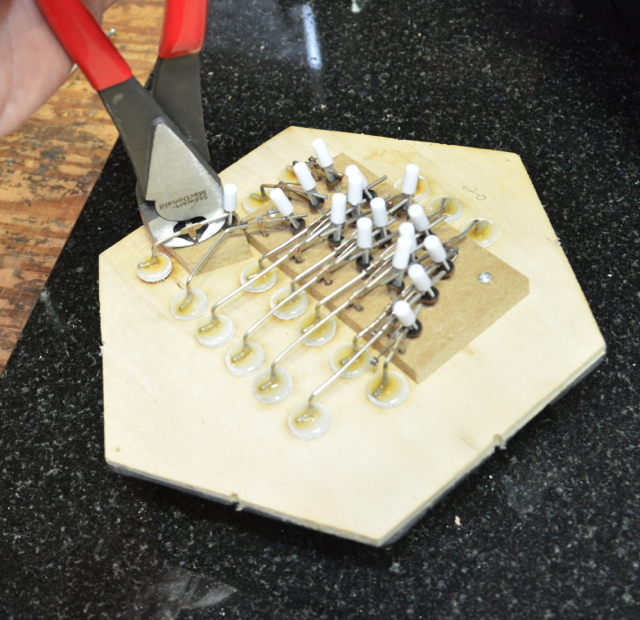
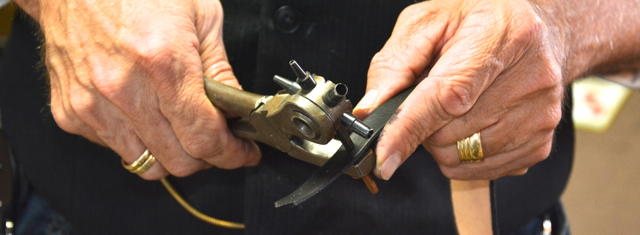
Use the proper screwdriver to remove the two small screws that secure the reedpan assemble into the concertina ends
With gentle encouragement the assembly will pull free of the ends. No need to pry.
Now I will show you how I make a larger airvent for the Rochelle.
Most traditional concertinas have a larger airvent than the Rochelle. Small vents can make a concertina feel sluggish (and make a whooshing noise). Although not such a problem for the advanced player, that small vent can prevent the beginner from grabbing a quick breath of air or relieving air quickly when backed into a musical corner.
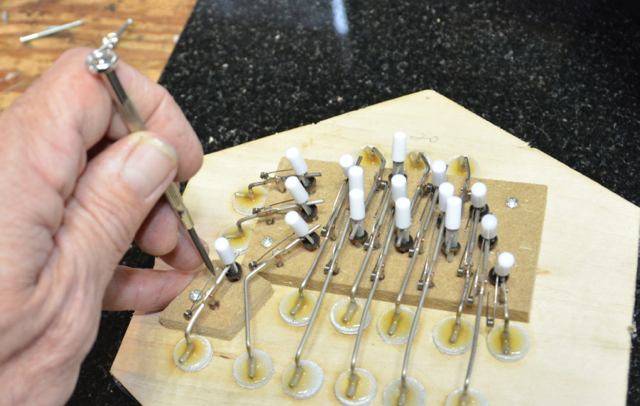
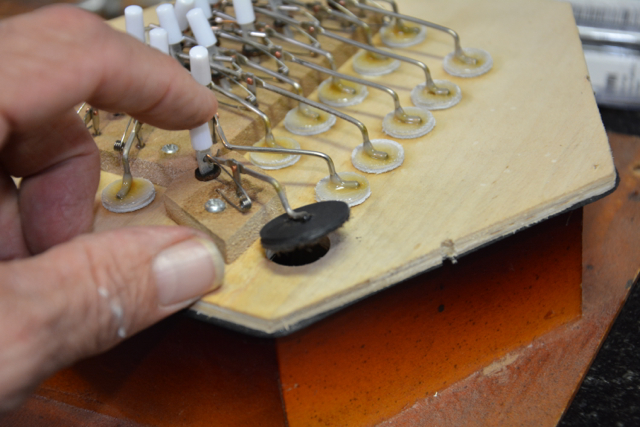
I gently pull the lever
fulcrum from its hole in the fiberboard
Exposing the airvent
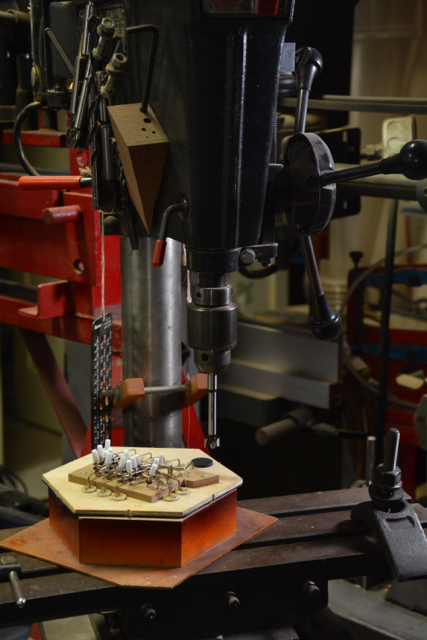
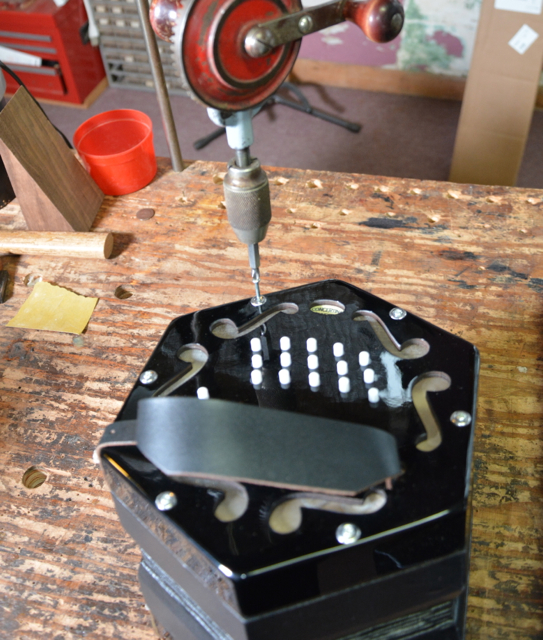
Assembly secured to a drill press where I use a 5/8 forstner bit to cut a sharp edged 5/8" hole.
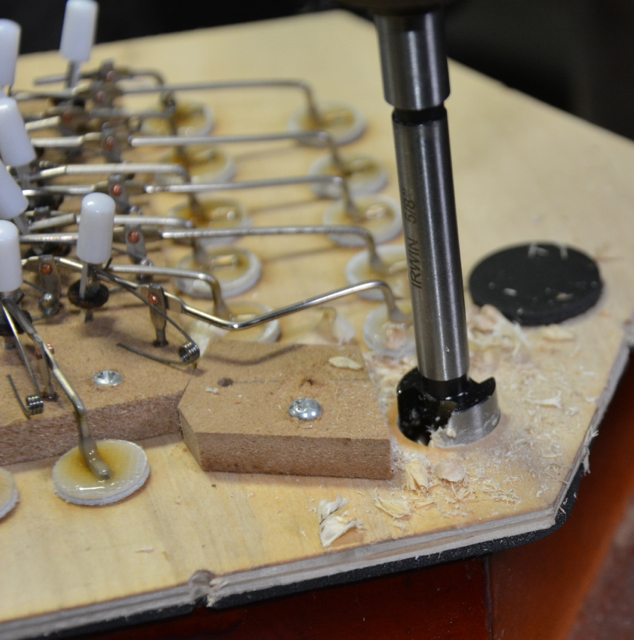
align the bit with
the near edge of the original tone hole. Careful
here.
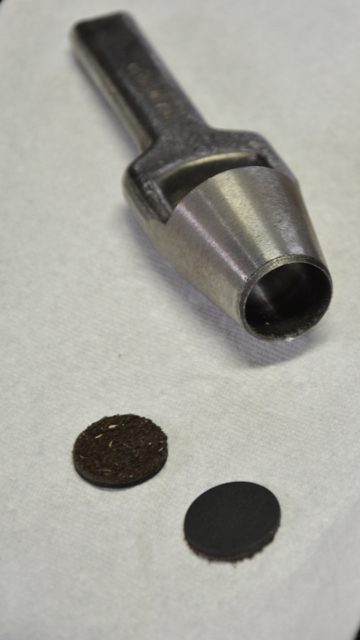
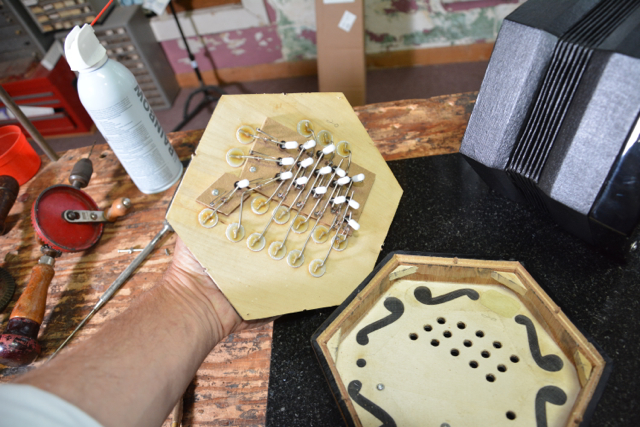
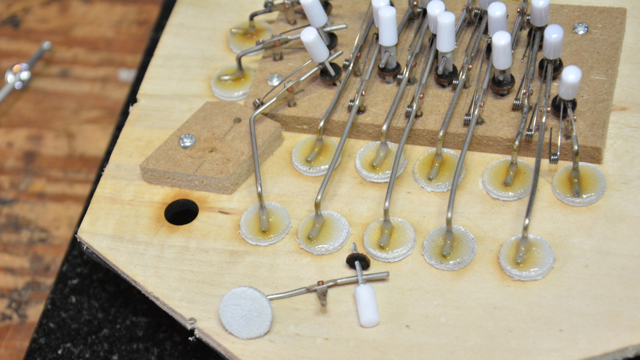
New pads cut with a CS Osborne 7/8" Arch punch with fully tempered cutting edge. Says so on the box.
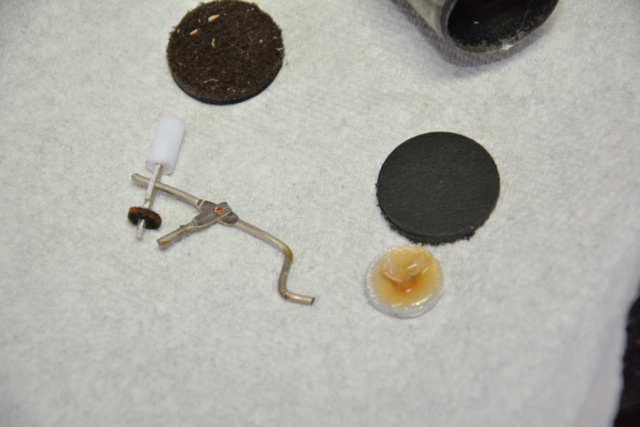
Original pad, new pad and
lever assembly
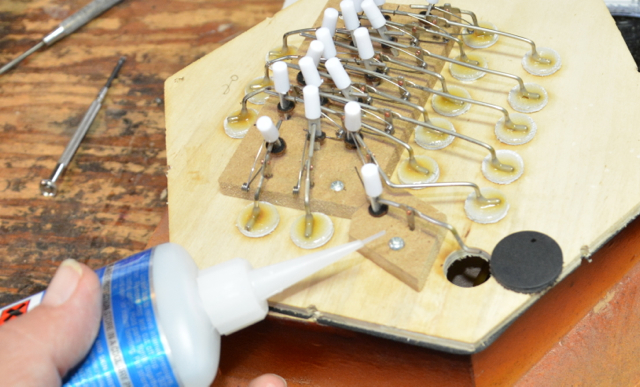
Reinstall lever assembly, secure with a bit of adhesive, I use thin CA
Check for easy action
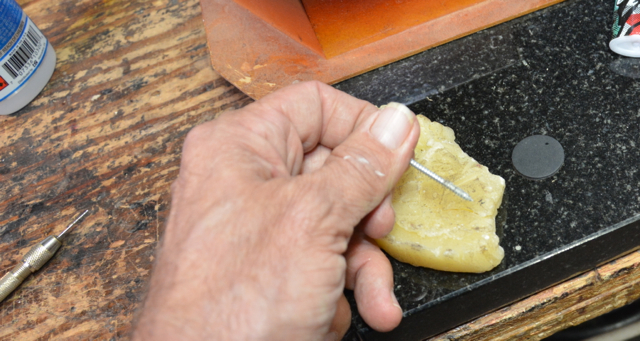
A little beeswax on the
threads of the retaining screws
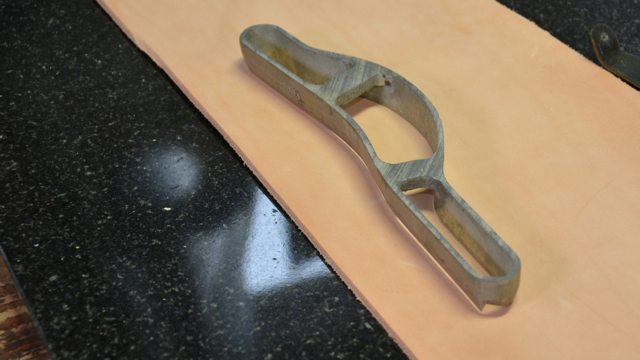
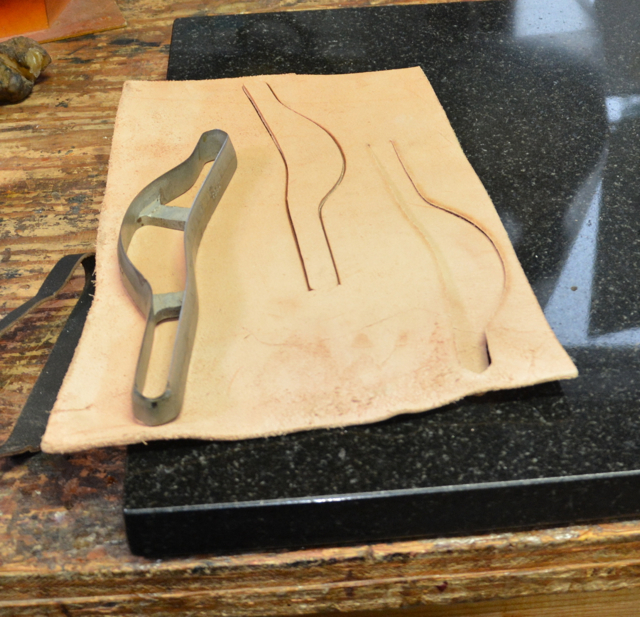
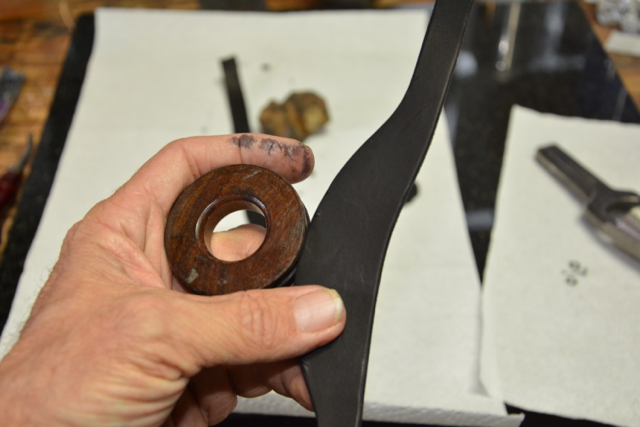
This is the die I purchased to cut leather hand straps. I find the stock straps a bit thin for my taste.
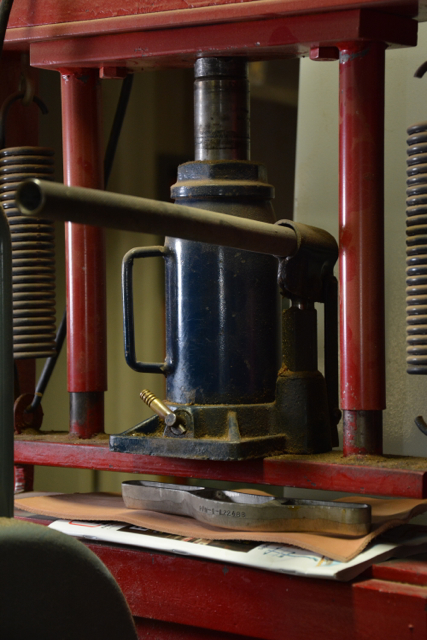
Cutting the straps in the
hydraulic press.
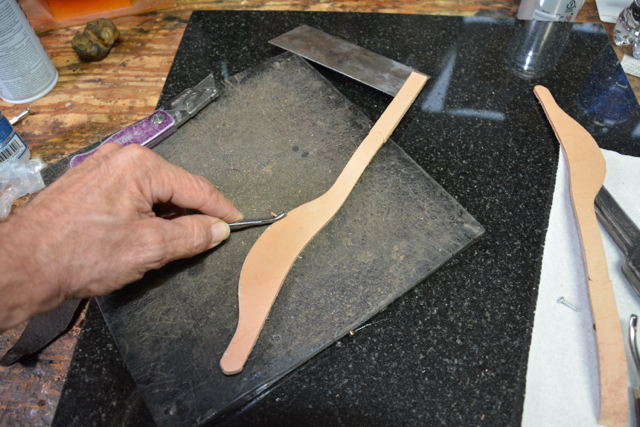
Triming the edges for a
comfortable fit.
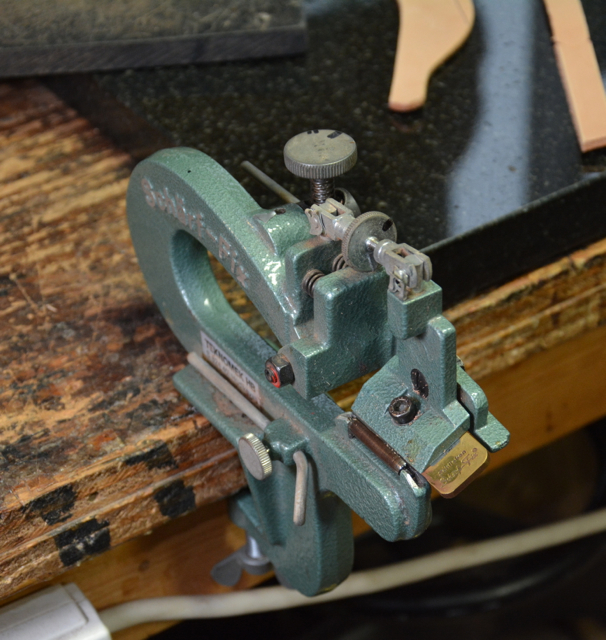
The device I use to thin
the straps on the ends. My handstraps are thicker in
the middle
Leather dyed black, edges
rolled
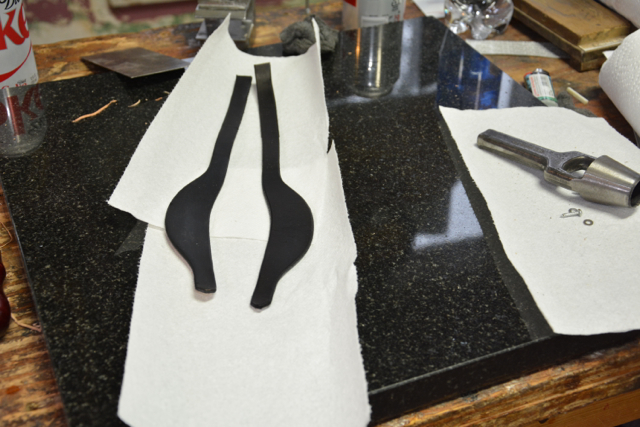
Holes punched
FIN