Disassembly and inspection of  Marcus concertina

  Homewood Musical


mvc-001s.jpg (44959 bytes) mvc-002s.jpg (26555 bytes)
Marcus 30 button Anglo concertina with rosewood frames. Find a clean work surface, an old terrycloth towel will keep small parts from rolling off the table and will protect the concertina from scratches while you proceed Locate the six frame screws and remove them with a new or recently sharpened screw driver that fits the screw slot exactly.    Proper choice of a screw driver is important so that you don't hasten the demise of your screw head or scratch your instruments. Your concertina will outlive you.
mvc-003s.jpg (40284 bytes) mvc-004s.jpg (40058 bytes)
remove each screw and place it, in order, on the bench top.  It is good policy to keep screws in their original locations. Remove the thumb screw as it will hold the end to the frame.
mvc-005s.jpg (46540 bytes) mvc-006s.jpg (33300 bytes)
Screws laid out in order.  I have six holes drilled in my work bench to accept the screws The end will lift of with no effort
mvc-007s.jpg (34382 bytes) mvc-008s.jpg (39266 bytes)
To disassemble the end and gain access to the action inside, we will remove a reed. Behind this reed is the screw that holds the end together.  Note its location beneath the palm rest.  Now and then I have to remove its neighbor to find the screw.
mvc-009s.jpg (37956 bytes) mvc-010s.jpg (36790 bytes)
Again, with a good fitting screw driver, remove one screw and loosen the other.
mvc-011s.jpg (32626 bytes) mvc-012s.jpg (28586 bytes)
Place the reed on the work bench, be sure to note the top and bottom, you will want to place it back in the same manner. loosen the long machine screw inside the reed box.
mvc-013s.jpg (37786 bytes) mvc-014s.jpg (36959 bytes)
Remove the screw, My fingers are too big, I use a tweezers. Don't loose the screw. Turn over and lift  the metal end off
mvc-015s.jpg (32171 bytes) mvc-016s.jpg (39579 bytes)
Check for binding posts; loose or broken springs All work inside is very neat, compare each mechanism to see that it does its job smoothly


mvc-017s.jpg (38247 bytes)


mvc-018s.jpg (43636 bytes)
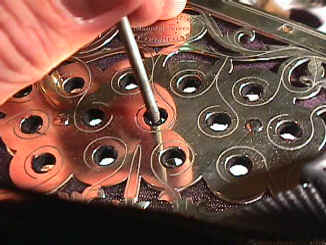
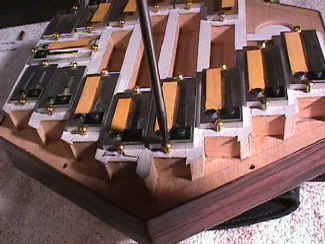
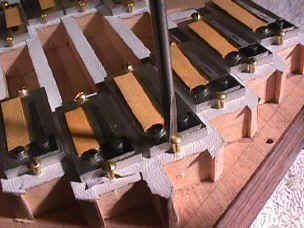
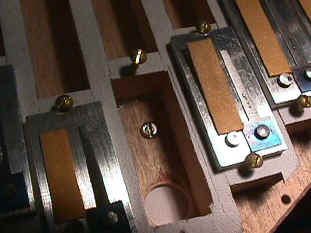
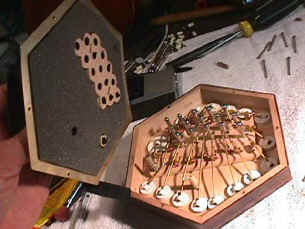
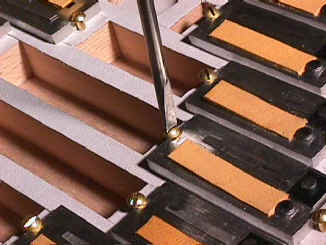
Button should move up and down easily look for obstructions or too tight button bushings; they should be snug but allow the button to move up and down easily.
mvc-019s.jpg (37411 bytes) mvc-020s.jpg (33743 bytes)
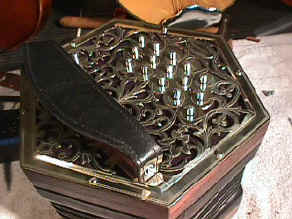
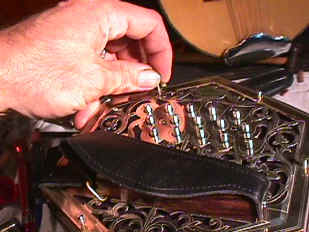
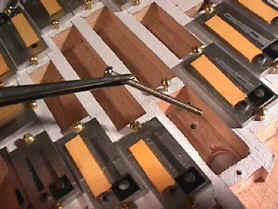
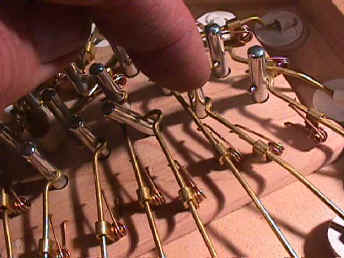
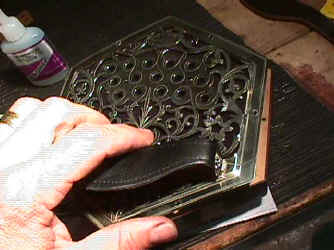
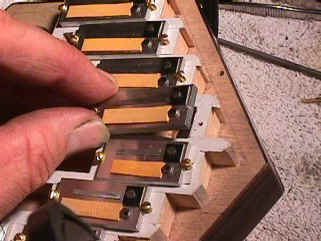
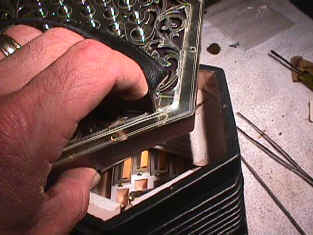
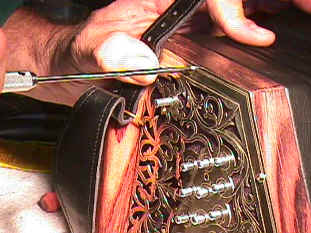
set metal end back on the frame and try each button to see that you have correctly aligned the buttons.
mvc-021s.jpg (33700 bytes) mvc-022s.jpg (37097 bytes)
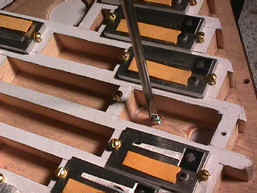
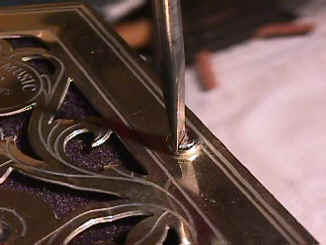
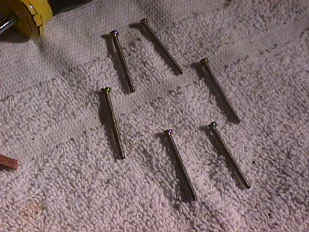
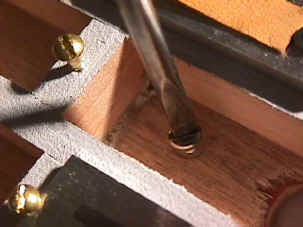
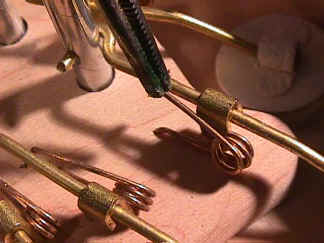
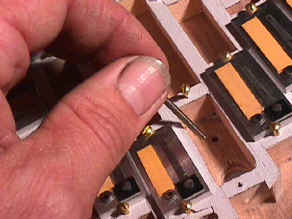
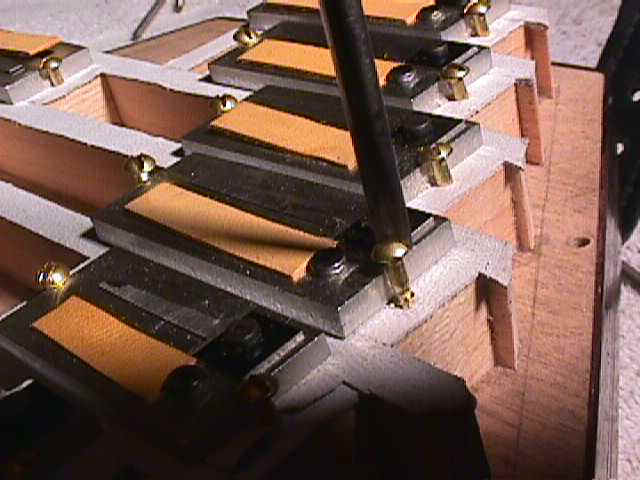
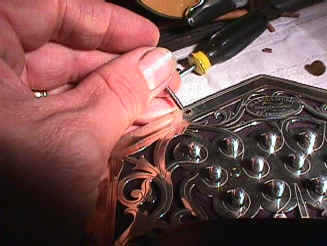
replace the long machine screw Start all screws by first turning the screw backwards while gently pressing with the screwdriver, feel for a "click" as the threads engage.   Try not to "cross thread" the screw.
mvc-023s.jpg (38808 bytes) mvc-024s.jpg (23683 bytes)
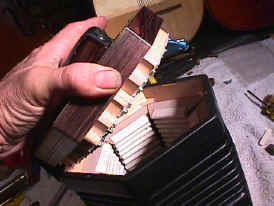
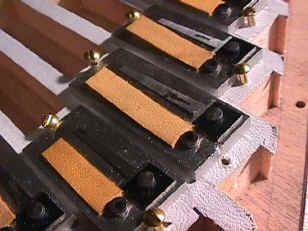
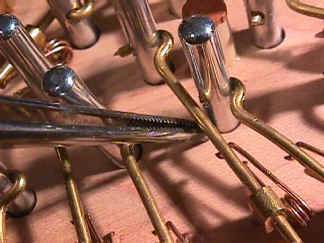
return the reed to its reed pan replace the small wood screw
mvc-025s.jpg (33734 bytes) mvc-026s.jpg (37318 bytes)
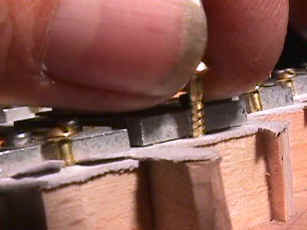
snug the screw, no need to over tighten don't forget to snug both ends, or air will leak.
mvc-027s.jpg (40154 bytes) mvc-028s.jpg (35813 bytes)
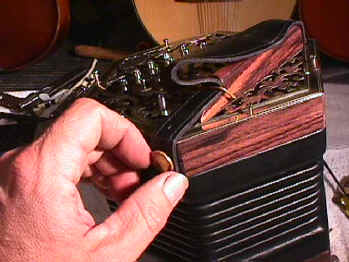
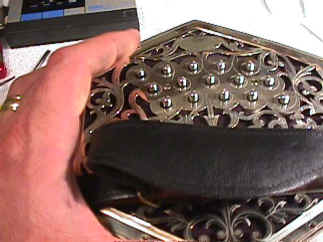
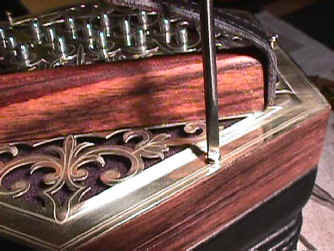
replace the ends on the bellows frame Replace each screw back to its original location
mvc-029s.jpg (42133 bytes) mvc-030s.jpg (52489 bytes)
Gently turn each screw backwards, feel for the "click" as the threads engage.  Lightly snug each screw. Do not attempt to tighten all the way. This is important.  Know that screws  serve only to secure and hold the ends in place; they are not to be used as a "winch" to drive the ends into submission!  With one hand squeezing the bellow together with a firm grip, snug the screw till it is just tight. Move on to the next screw until you have tightened all six.
mvc-031s.jpg (33209 bytes) Questions?  call me at 205-879-4868

hmi@scott.net

Homewood Musical

3027 Central Ave, Birmingham, Alabama 35209


Replace thumb screw and check your work