This web page provides  a thorough exploration of
Bellows Construction in the Tedrow method.

  • full cut card construction
  • use for new construction
  • fit to older instruments
  • any number of folds
  • any number of sides
  • any size instrument.
  • any depth of folds


Feel free to ask questions or make comments.  I will try to 
answer any questions.  I hope the photos and text are helpful
to you.


Bob Tedrow
Tedrow Concertinas


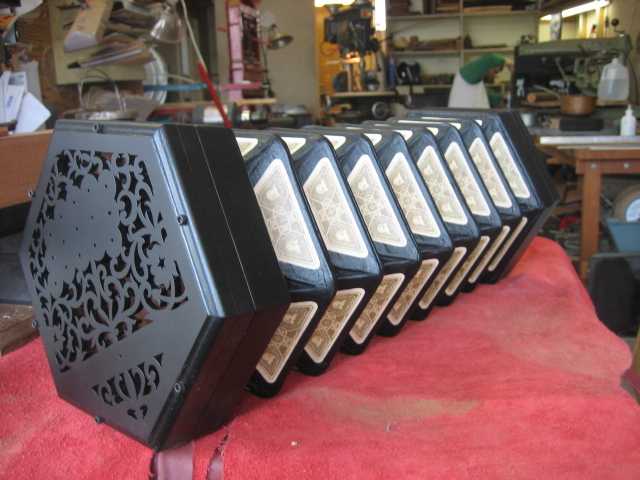
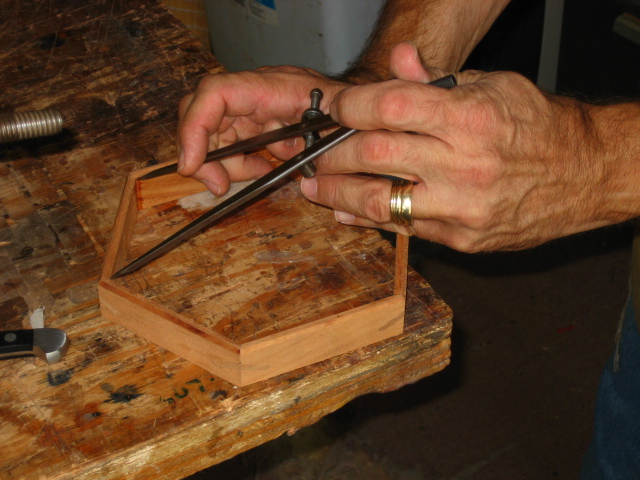
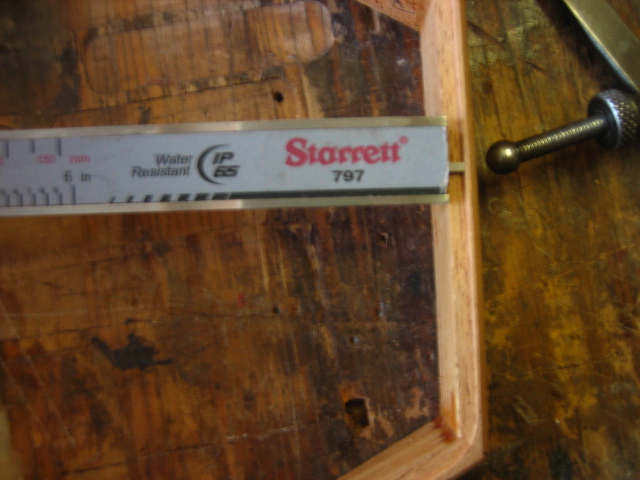
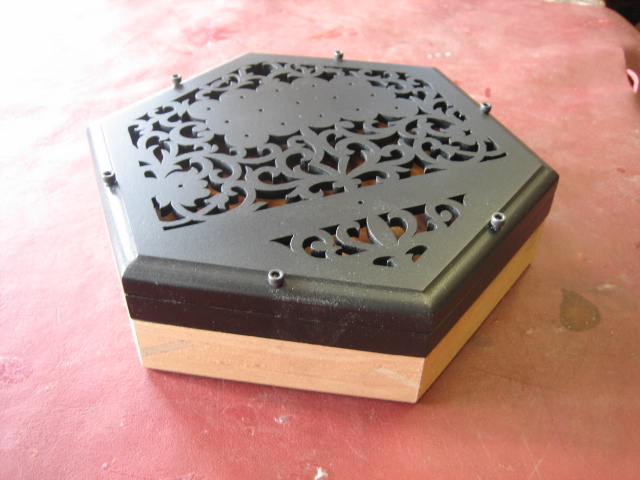
Here is the intended recipient of the new bellows, a standard six sided anglo.  I am going to fit it with
seven fold bellows.  This bellows building method will allow you to construct any number of folds, any depth of folds, any size concertina with any number of folds.......although I have never tried one with more that twelve sides.
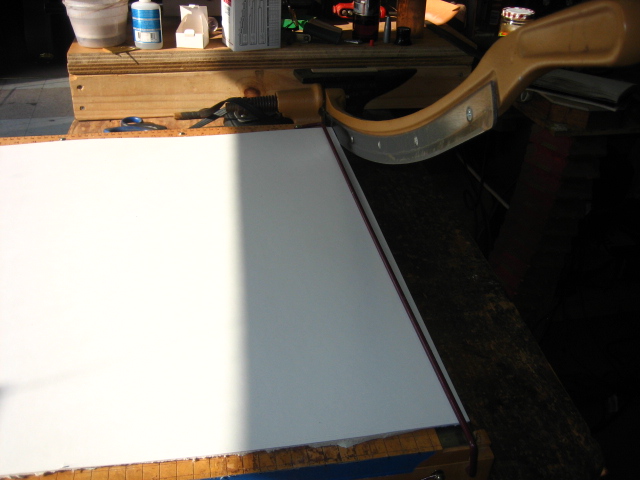
Cotton ragboard is a good choice of materials,  I have used matboard as well.  I choose material that has a neutral Ph.   Ragboards, matboards can be purchased as artshops or frame shops.  Color doesn't matter, white is traditional.  I will cut off a 24X24 inch section that will fit my cutter.


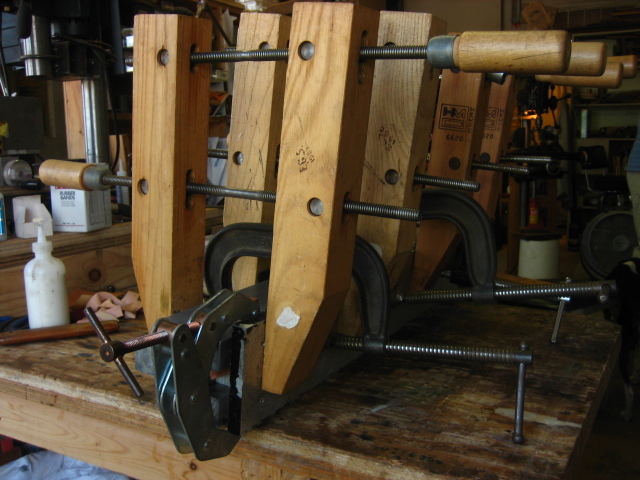
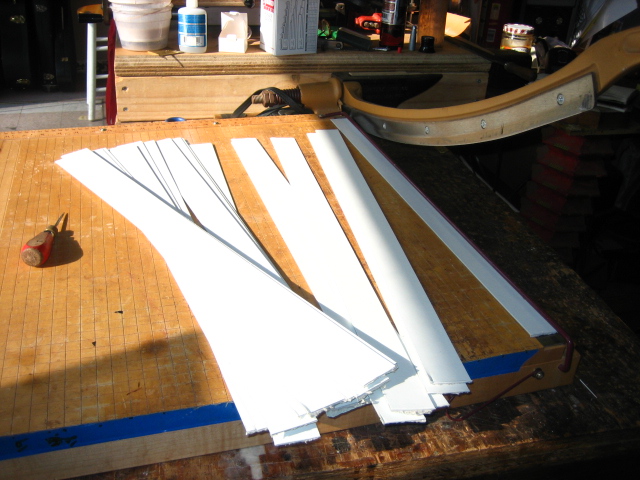
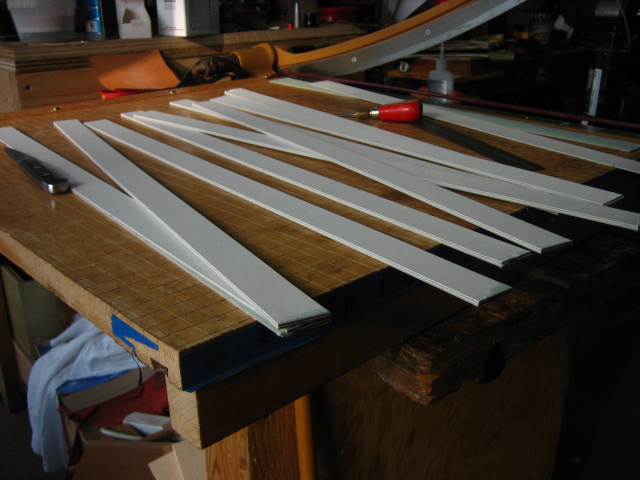
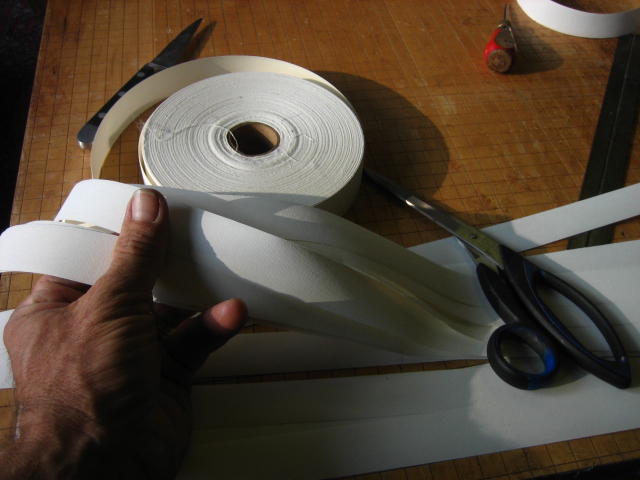
I  rough cut the board into 1.5 inch strips.   This sturdy paper cutter does several jobs in the bellows building proceedure.  In the past, I have used a knife and a rule, but this is lots faster and has been worth the investment.  Sometimes these cutters are available used....get a sturdy one and please watch your fingers as you can get a very nasty cut here.
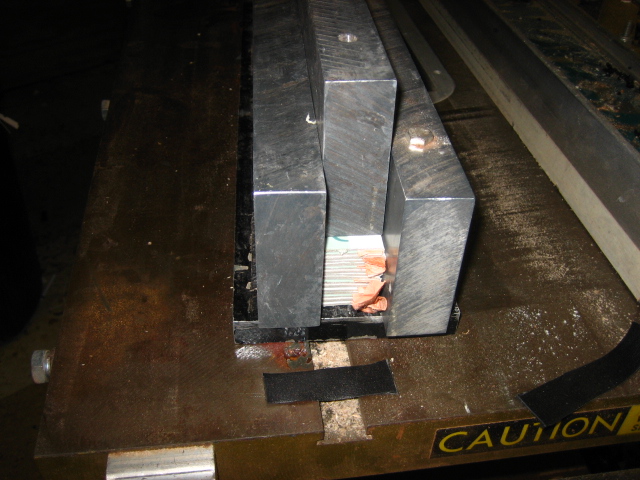
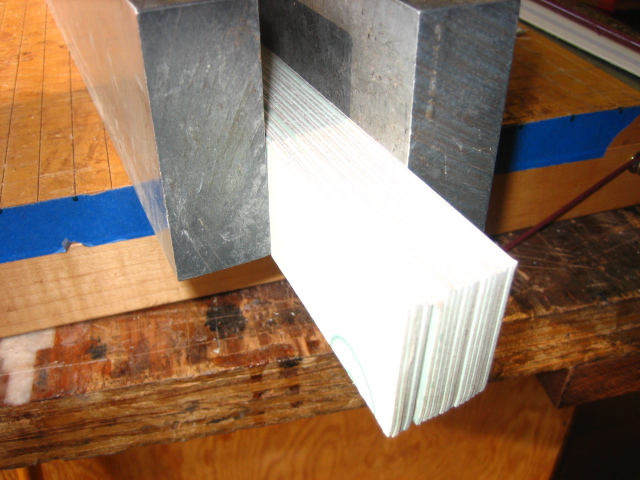
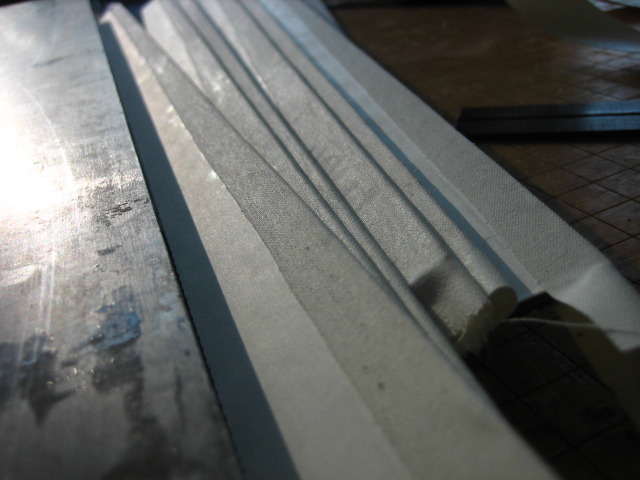
The strips are lined up carefully and held with a couple heavy pieces of  aluminum bars.  I will glue the strips together at the ends to form a billet of strips that can be further cut to size.


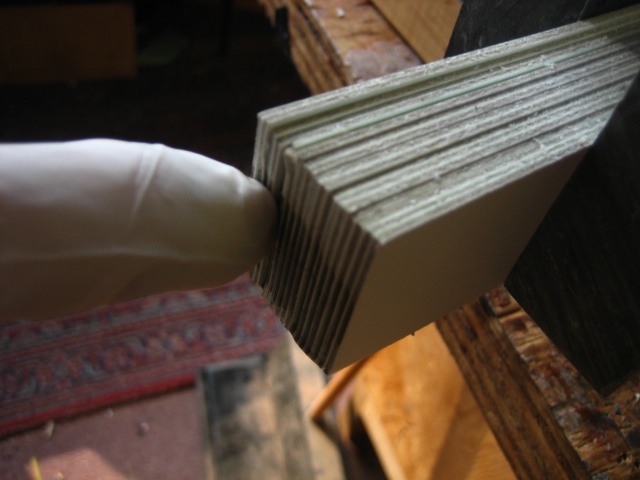
I use a medium viscosity cyanoacrylate for this part.  I massage the glue into the ends.  Use a finger cut from a  rubber glove
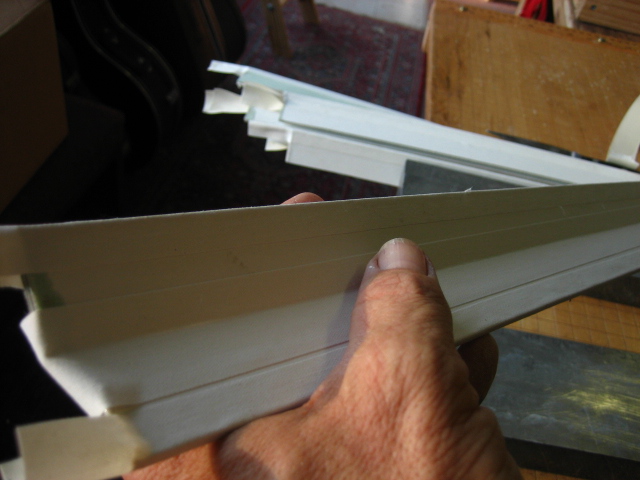
The billet of strips ready for the next step.


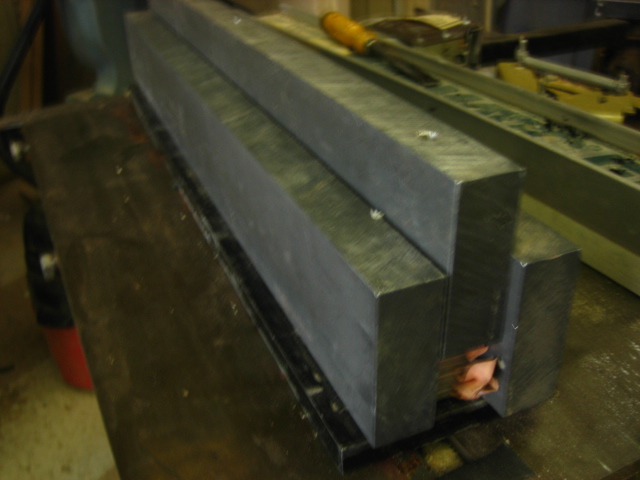
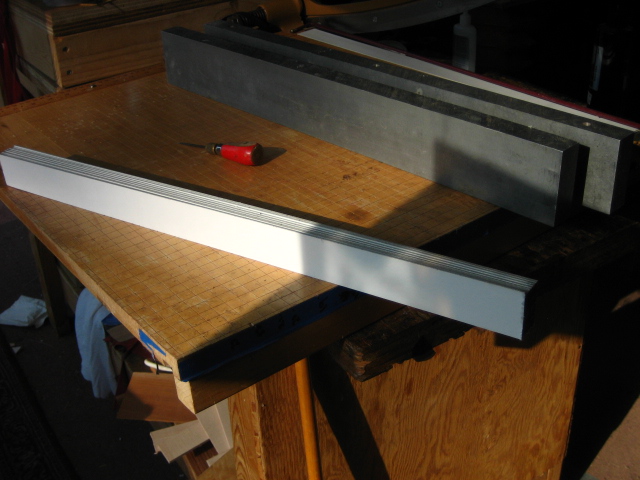
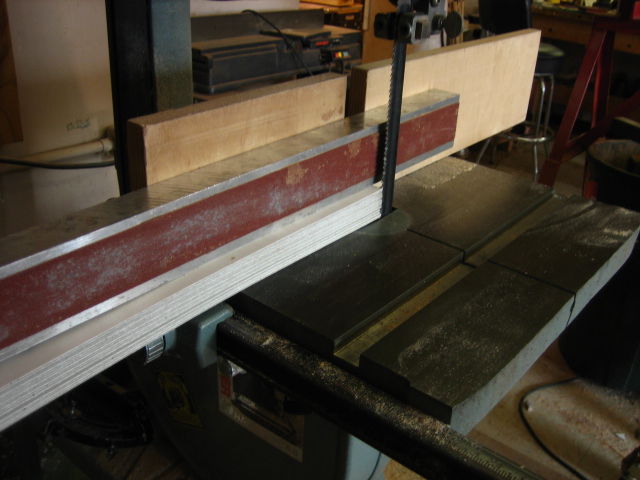
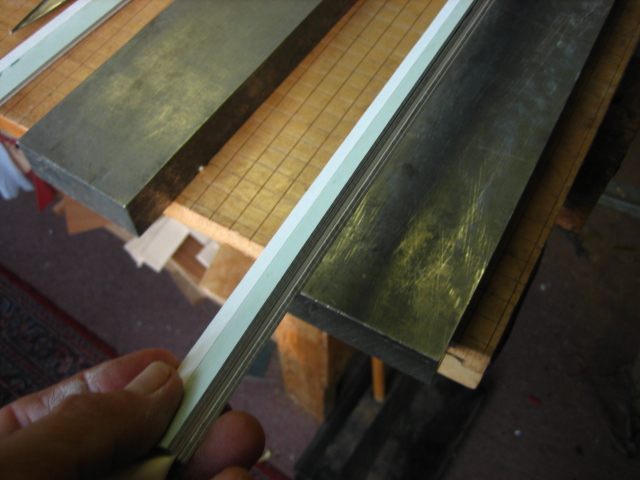
Moving on to the band saw, dress one side of the billet at 90 degrees.  The metal bar sits on the stack of strips to help it  behave during the cut.
Prepare for the second cut,  I set the cut at 1 1/8 inches.  This can be changed if you want a deeper fold on your concertina bellows.


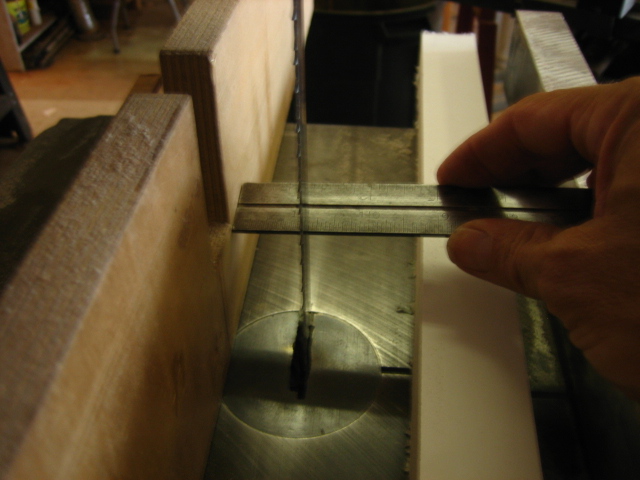
Did I mention that a couple of extra strips in the billet will let you remove the shaggy exit cut?  With a  dull blade, separate the billet into pairs of strips.
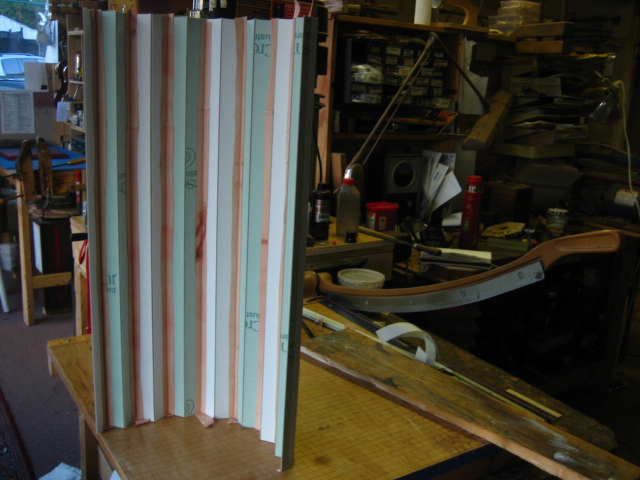
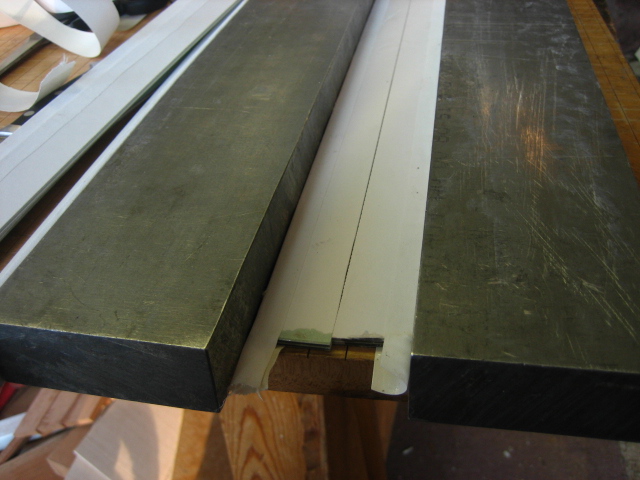
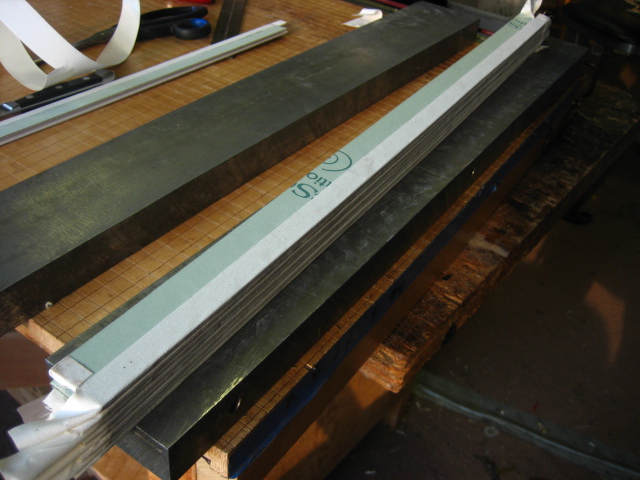
You will need eight pairs of strips


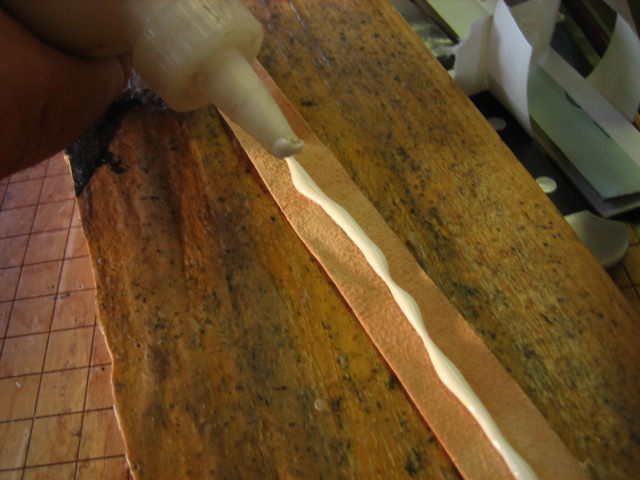
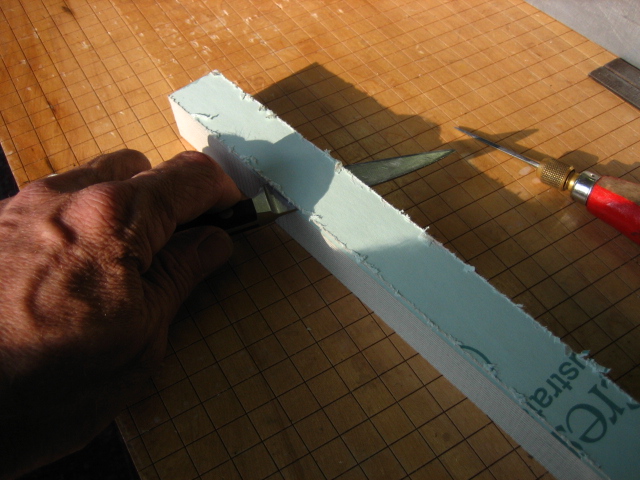
This is gummed cambric tape.  I have made my own with linen and hide glue, but it is a little messy.  This material is available from TALAS in the States.  It is a bookbinders material, non acid and very strong.
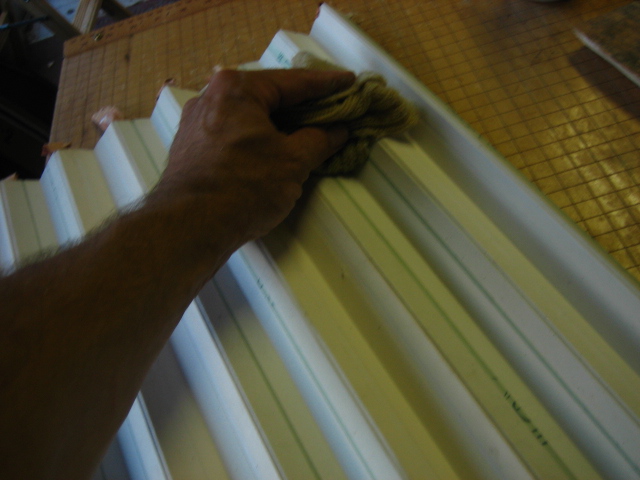
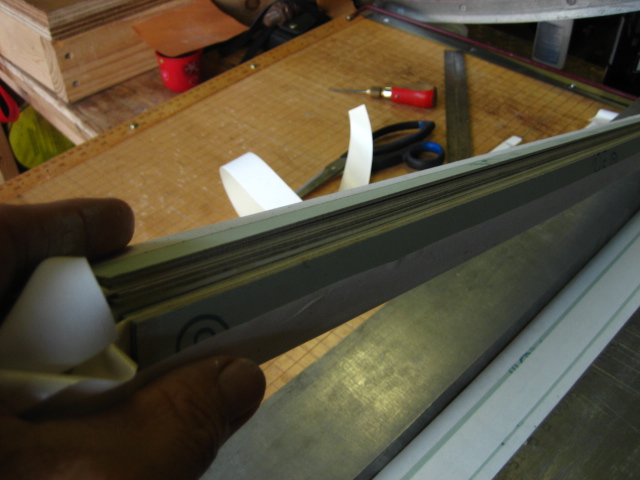
Drag the gummed tape through a water bath and neatly apply to on edge of each of the pairs.


At this point, you should have a neat, folded sheet.  All the cambric tape will be on one side.

The material on the left is a vegetable tanned sheepskin skiver.  This is cut into 3/4" strips and glued into what will be the "valley" of the bellows.   I use a PVA glue here.  Pay carefull attention and see that the skiver is glued to the very bottom of the valley and that the joint can lay flat on the table.  I use an awl to help line the skiver up with the bottom of the valley.

It is important to see that the folds can lay out 180 degrees.  This prevents the joint from failing when the bellows are fully extended and provides a good working range of motion.

Let the sheet air dry for about an hour.


air dry  for about one hour.
With a damp wool sock,  wipe down the entire back side of the assembly


fold up the assembly and place it in a clamping jig over night.  This gives the small amount of moisture in the assembly time to spread to all the layers


Next morning put the bellows into a sturdy clamping jig and with all your might tighten four large handscrews and four C clamps.  Every ten minutes, screw them down again.  Do this four times

 You will find the bellows will compress into a very tight bundle.  I advise you here to remove the clamps and  pull the bellows out of the jig.  Stretch the bellows out.....see that you have not used too much glue and are gluing the whole assemble together!!.     When you are satisfied that the folds are free, replace the bellows in the clamping jig and leave them for one hour.


Measuring the Bellows


This took me a good while to learn (no teacher!)  If you follow these instructions, you can make bellows of any number of sides and for any diameter concertina.  I will show the method for a six sided instrument.

With a dividers, measure the exact distance from one inside corner to the next.


Look carefully at the construction of my bellows frame.  You will see a 1/8" rabbet cut into the frame.  This rabbet will hold and center the bellows into the frame (well, in a few minutes it will)

I will (maybe) provide a webpage on concertina woodwork soon......if I ever get through this little (!) project.


Oh, and now you can remove the bellows from the clamping jig.  The next part is very clever, I hope you think so as well.

Bob Tedrow


Tedrow Concertinas


  Bellows Page TWO